COM1035 – Graphics Tools
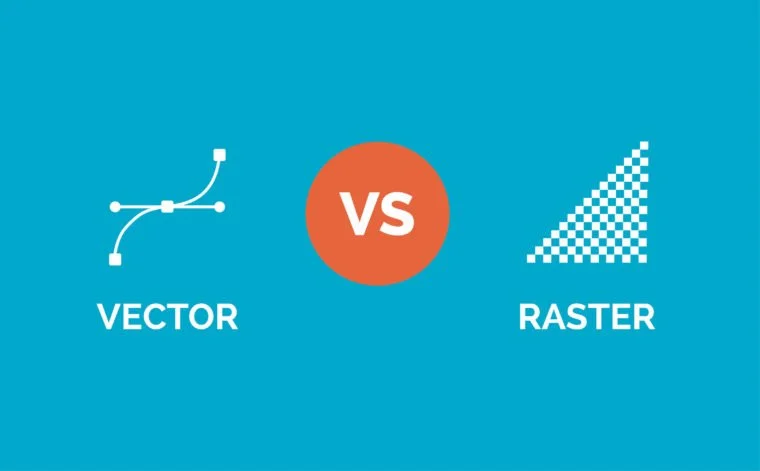
Graphics Tools is the second credit in Multimedia and is an important prerequisite for other senior level modules. In Graphics Tools, you will learn more about how to create digital graphics, both raster and vector, using various software.
Assessment breakdown:
#1. Theory = 20%
#2. Practice = 40%
#3. Final Project = 40%
REMINDER: Unless indicated otherwise, all assignments are to be turned in through the assignments tab in Microsoft Teams.
Theory
IN THIS SECTION WE WILL LEARN IMPORTANT CONCEPTS NEEDED TO DO THE PRACTICE. PLEASE ENSURE YOU HAVE REVIEWED THE MATERIALS BELOW BEFORE TAKING THE QUIZ ASSIGNED THROUGH TEAMS.
What is the relationship between pixels and digital graphics?
Humans have long felt the need to create graphics. For thousands of years, humans used hand held tools to create traditional graphics by mark making on some kind of physical surface such as wood, paper, or stone. With the introduction of electronics came a new way of creating graphics: digitally. In Multimedia, our surfaces are no longer wood or stone, but rather a screen made up of thousands of tiny illuminated squares called…? Solve the mystery in presentation 1.
How do raster and vector graphics compare?
As a creator of graphics, it is important to understand the key differences between these two types of graphics and their distinct uses. A proper understanding of the two will help you choose the correct software, properly format your projects, and maximize your chances of creating industry-level graphics. Let’s compare the two inside of presentation 2.
What are some best practices when it comes to creating graphics?
Photoshop is the creative industry’s software of choice when it comes to working with raster graphics. For beginners, learning a new program can be overwhelming. Before we dive too deep into all the bells and whistles that Photoshop has to offer, let’s first make sure you are setting up your graphics projects on solid footing by reading presentation 3.
Complete this tutorial before beginning practice challenges.
In YouTube, view the video description to access timestamps.
Practice
IN THIS SECTION YOU WILL APPLY WHAT YOU LEARNED IN THE THEORY SECTION. THE AIM OF PRACTICING IS TO EQUIP YOU WITH THE KNOWLEDGE AND SKILLS NEEDED TO CHOOSE AND CREATE YOUR OWN FINAL PROJECT. CLICK ON THE BUTTON BELOW TO DOWNLOAD A PRACTICE PORTFOLIO TEMPLATE (MOVE IT TO YOUR STUDENT FOLDER) AND CAREFULLY REVIEW THE INSTRUCTIONS.
> How to do Practice Portfolio in Multimedia (00:00)
> Student Example
Include the following challenges, plus pictures of any other in-class activities you completed (earn bonus marks), inside your practice portfolio:
#1 – Copycat Logo:
Part (A): Download the following file and follow the YouTube tutorial below. This activity will prepare you with the skills needed to do Part B. Add image of finished activity to your practice portfolio.
> Click to Download the Pen Tool Practice (Illustrator File)
Part (B): In your practice portfolio, add one slide to showcase side-by-side the original logo and the one you traced using pen/shape tools (label them so it is obvious which is which). For an additional challenge, choose a more complex logo icon with custom shapes.
Use the following tutorial to learn how to use the pen tool. Before beginning, you will need to find, copy and paste a logo onto your canvas.
> How to Use the Pen Tool (8:46)
#2 – Photoshop Tiles:
In your practice portfolio, export and add a .jpeg image of the Graphics Tools: Photoshop Mini-Challenges Grid after they have been completed. Each tile is designed to teach different tools and functions within Photoshop. Save the Photoshop file (.psd) to your Adobe Creative Cloud: we will work through this as a class. Consider pausing or using split screen as you work through the provided tutorial.
If you enjoyed this practice challenge, you could try the ones (on your own time) listed under the CTF > Graphics 9 webpage.
#3 – Give It Hierarchy:
In your practice portfolio, export and paste a .jpeg of your finished poster. Begin by downloading and choosing a text option. Watch the following tutorial and considering the following:
What chunk of text needs to be viewed first, second, third, etc? Add text hierarchy by adjusting sizes/weights.
How can I use CRAP principles to make my work aesthetic and readable?
What kind of image(s) will compliment, not overpower, my poster?
Bonus Mark Activity
For this activity, we will a combination of Adobe Photoshop and Aero to produce a basic augmented reality scene. Please begin by printing the following planner document, filling out an idea (example planning document), and then using the tutorial below to create your scene.
AR Card Specs (Photoshop):
7” wide x 5” height
72 resolution
Final Project
IN THIS SECTION, YOU WILL HAVE THE CHANCE TO CHOOSE AND DESIGN A PROJECT THAT RELATES TO WHAT YOU HAVE LEARNED IN THIS CREDIT (SEE FINAL PROJECT DESCRIPTION BELOW). PLEASE DOWNLOAD THE INSTRUCTIONS AND FOLLOW THEM CAREFULLY. PLEASE SEE ME IF YOU ARE STRUGGLING TO COME UP WITH A PROJECT IDEA OR NEXT ADDITIONAL GUIDANCE.
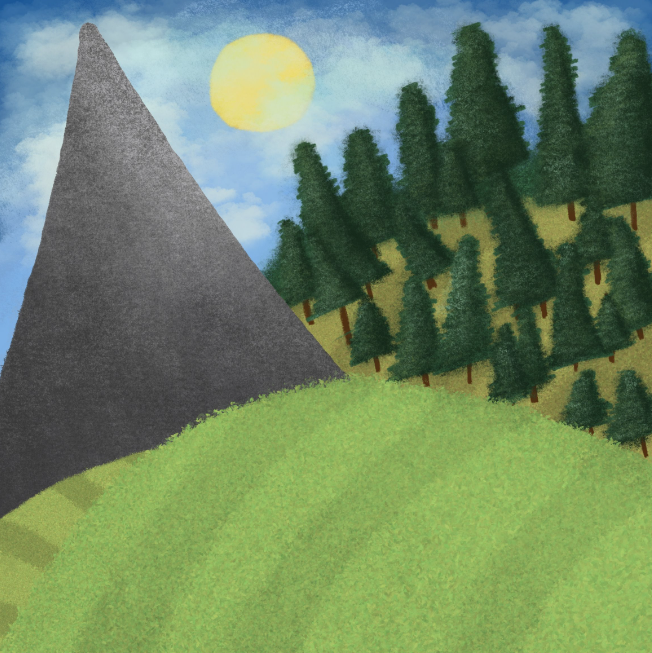
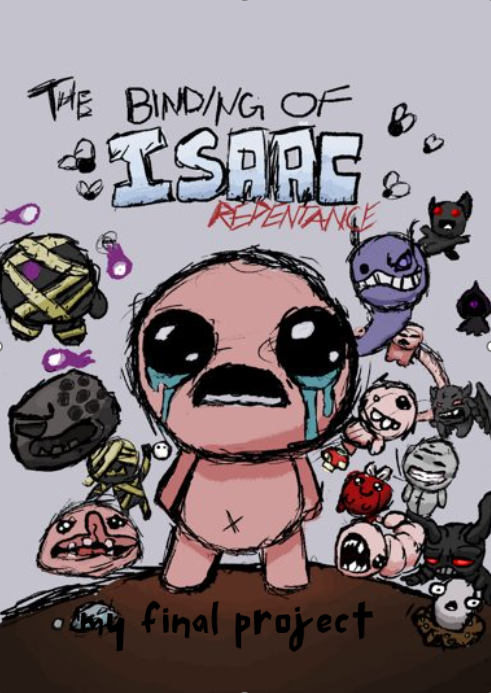
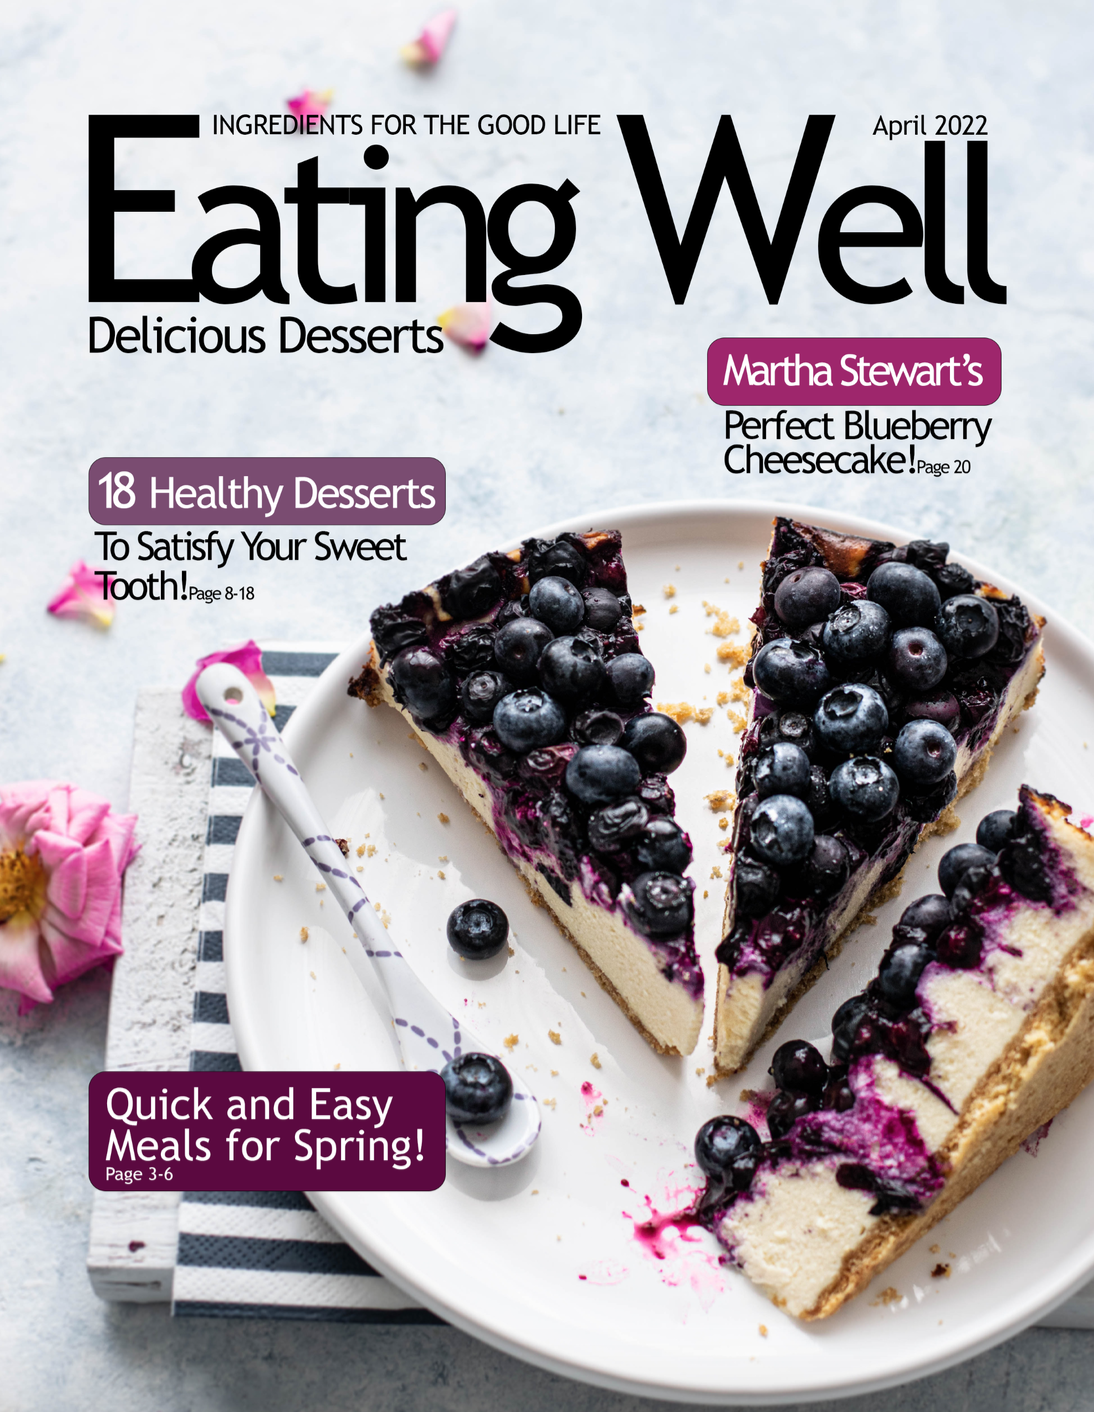
Final Project Description: For this final project, you will create and/or manipulate original graphics using raster or vector software.
> How to do Final Projects in Multimedia
> Final Project Ideas & Resources
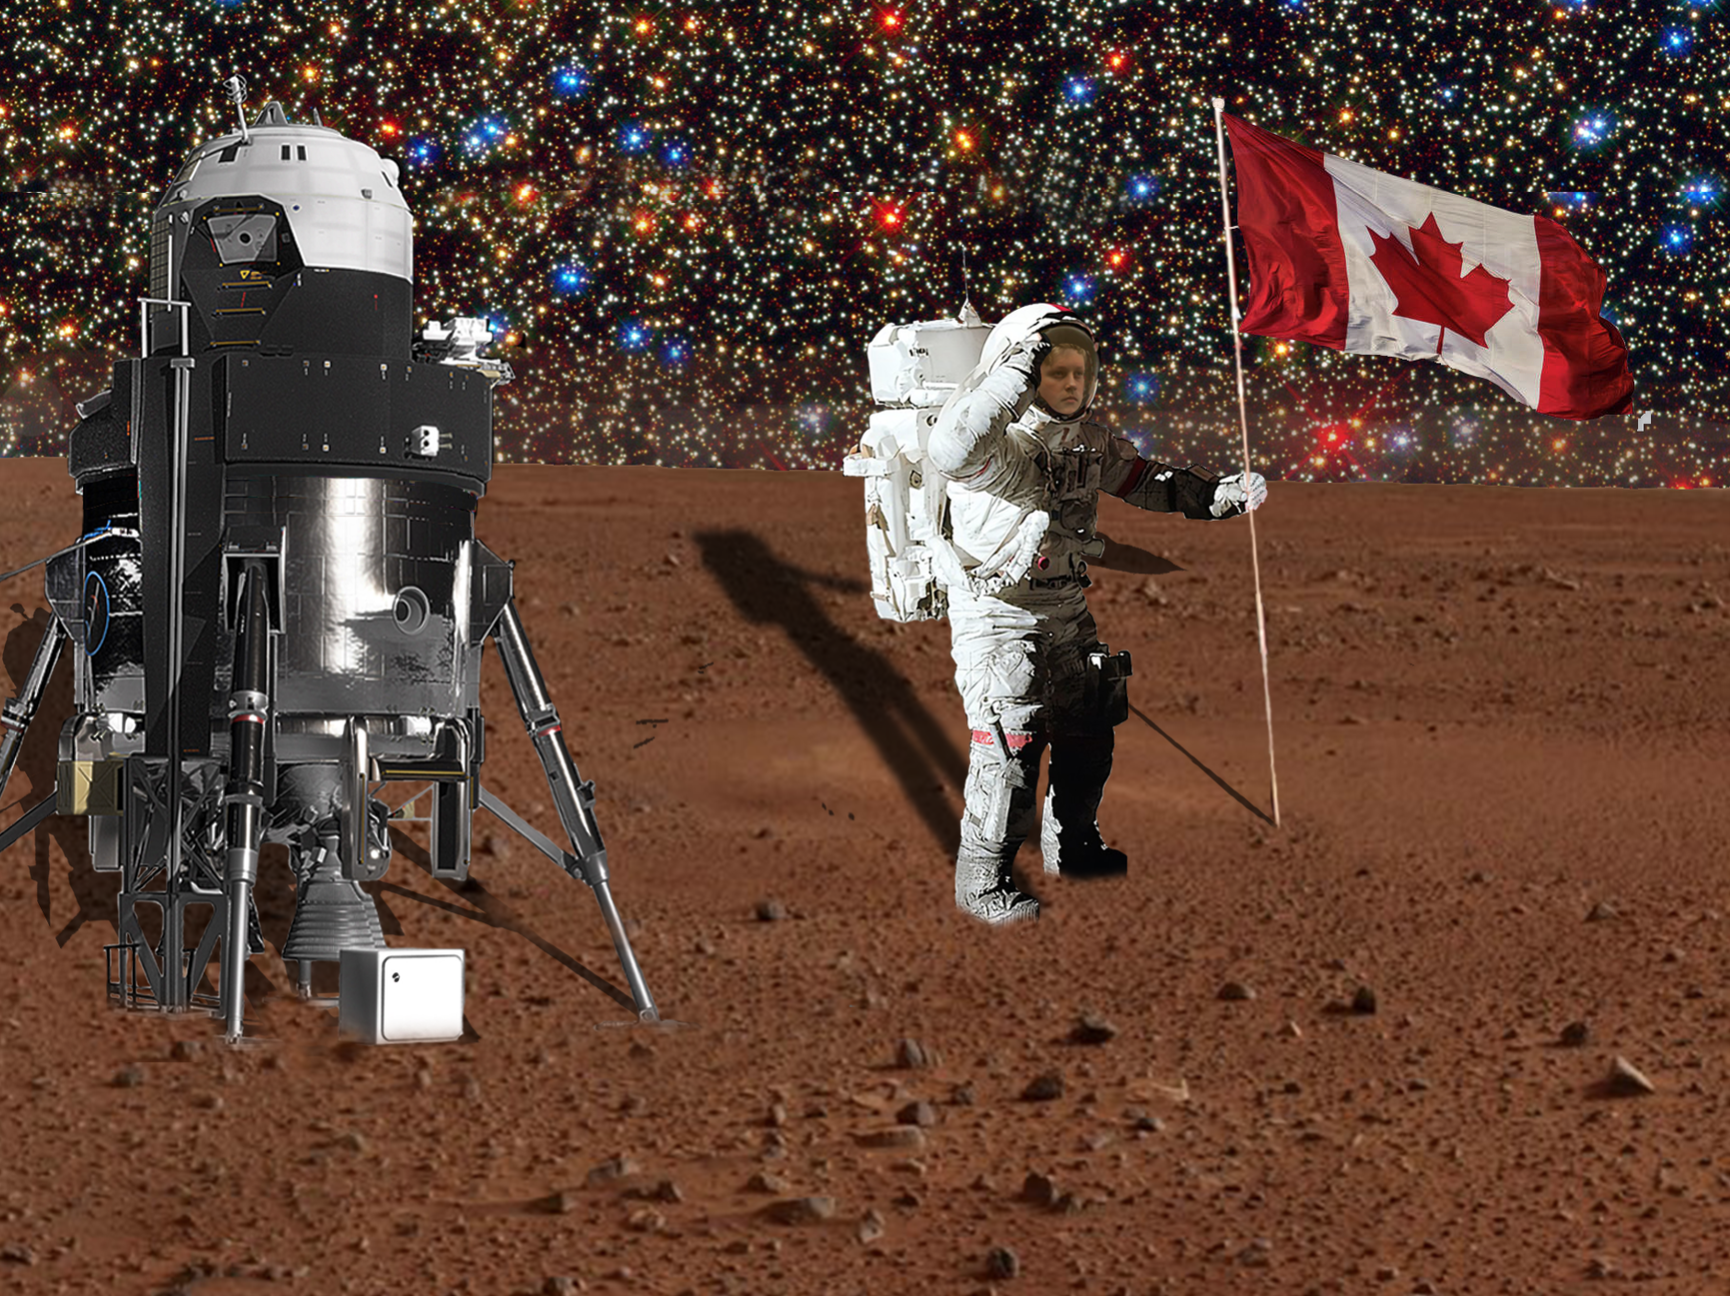
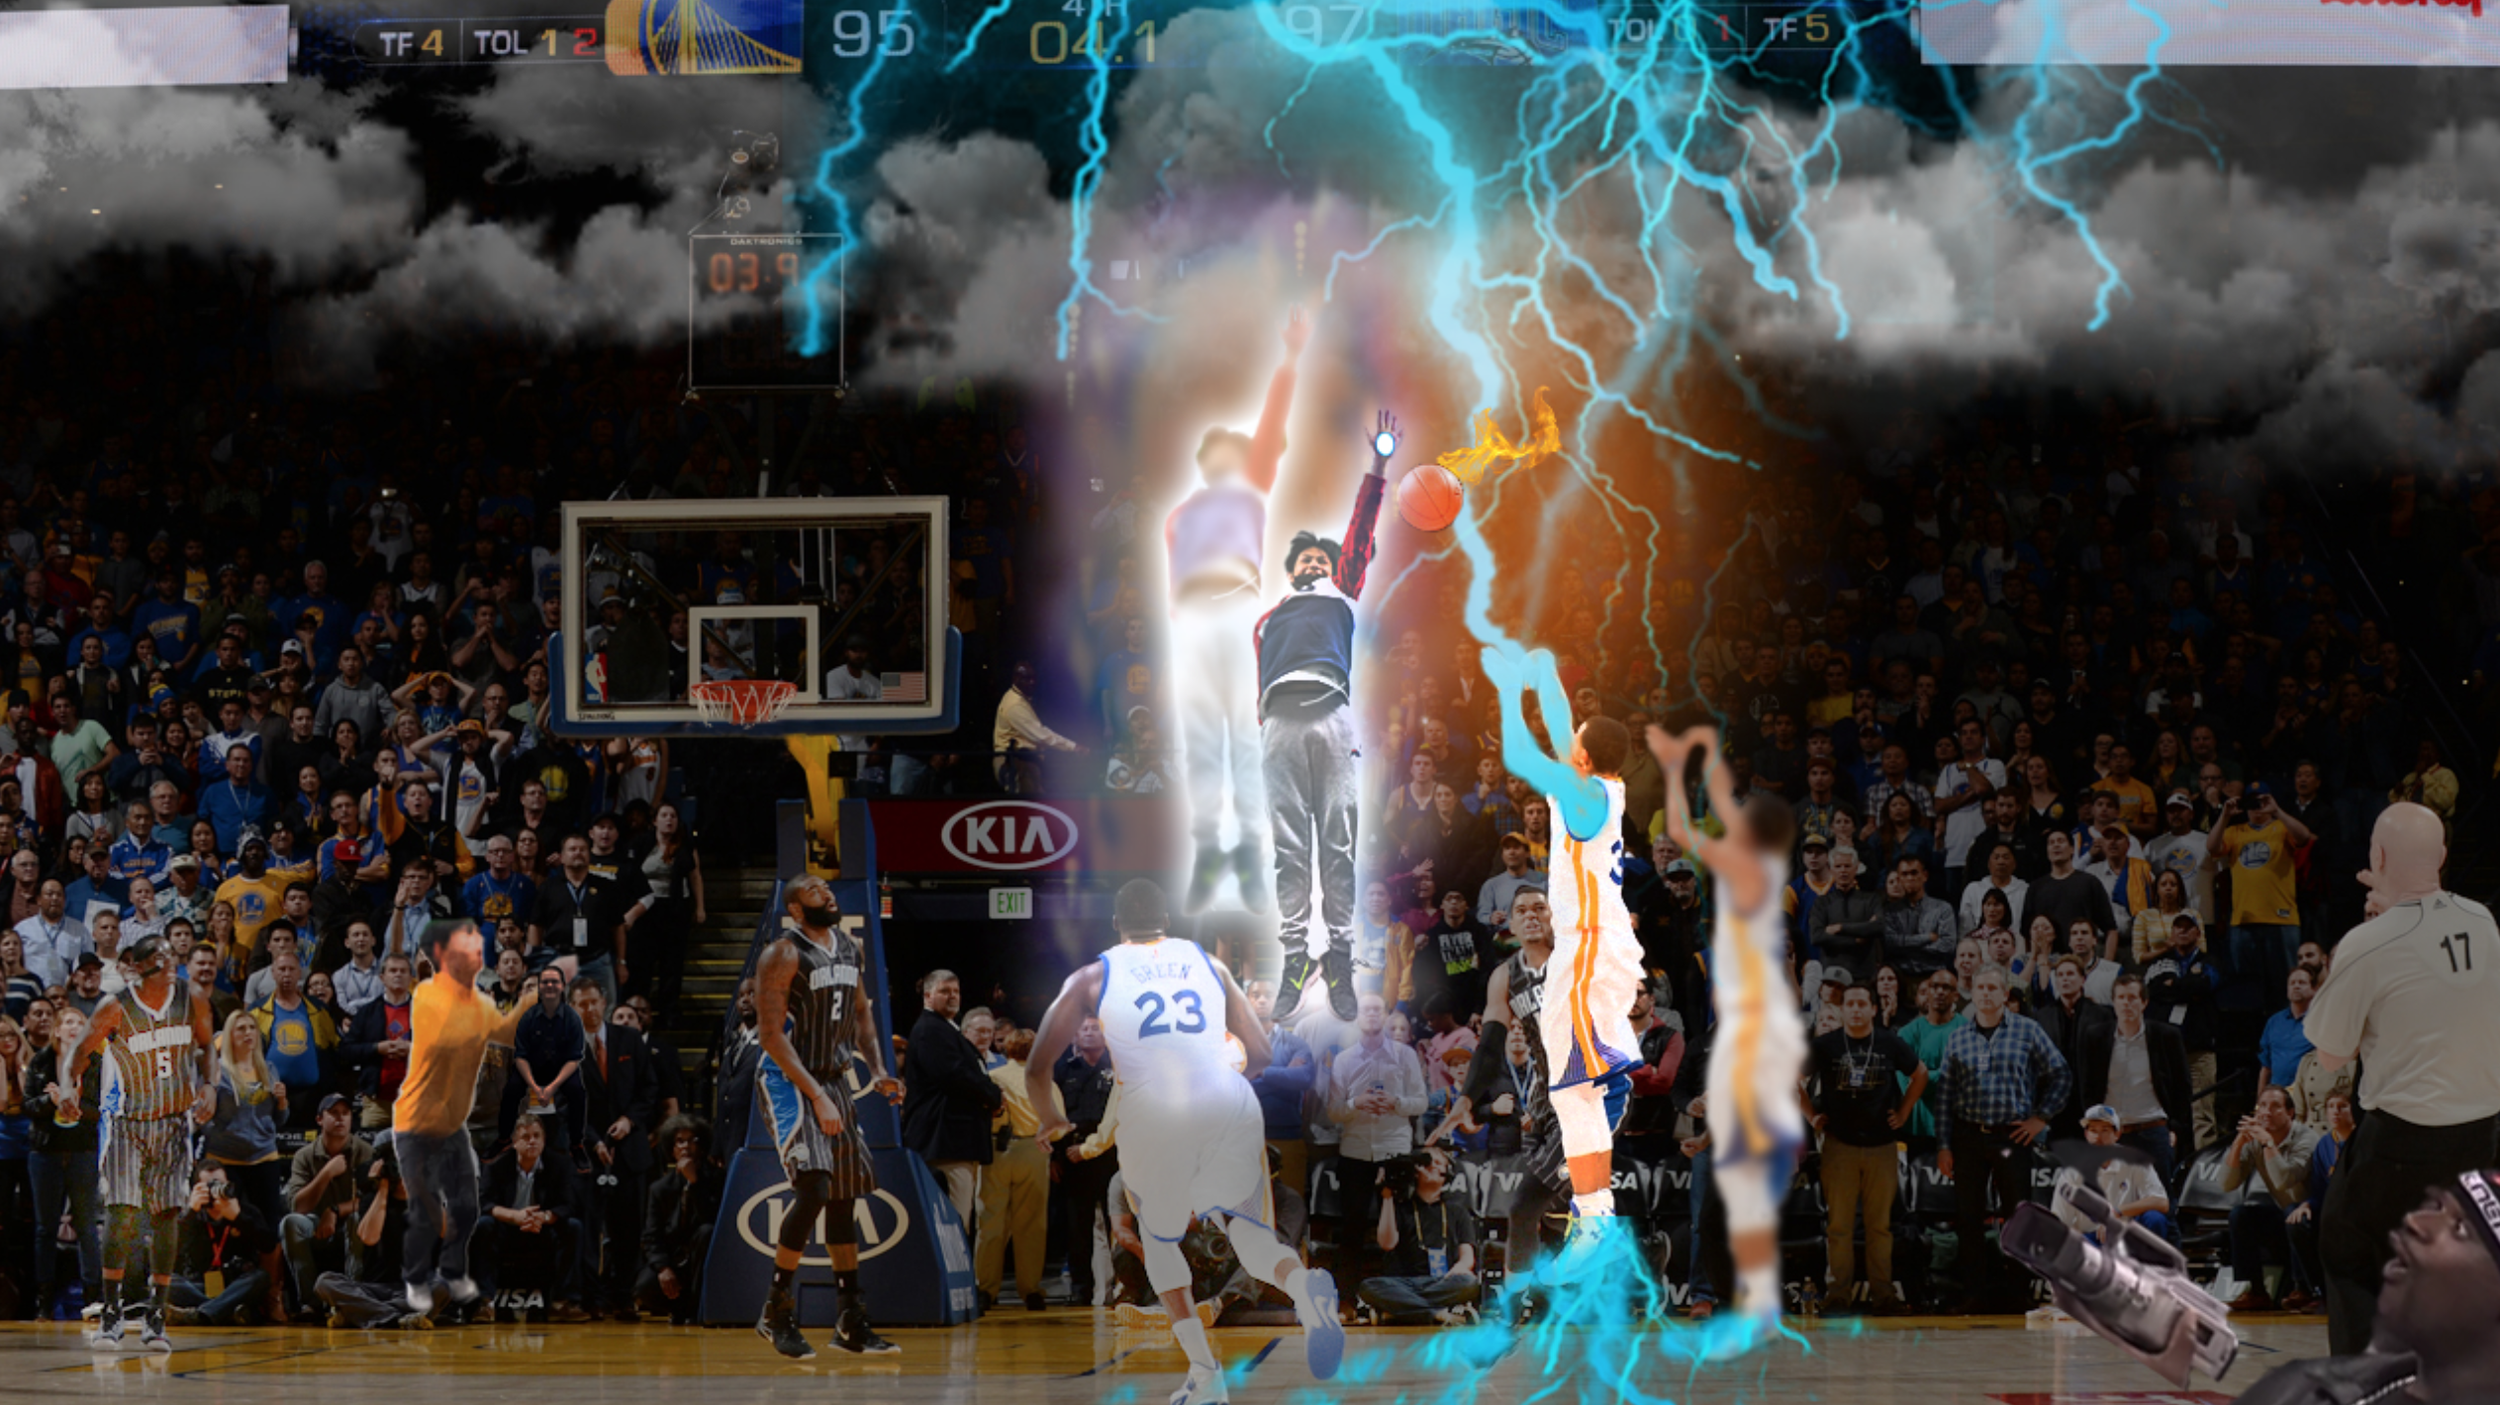
> Student Example

RESOURCES:
> Slideshow Presentation Tips (PDF)
> The Pen Tool Game (Website)
> Rules of Good Typography (PDF)
> Perfect Layout Design (YouTube)
> Grid Systems (PDF)
> Photoshop Roadmap (Tutorials)
> Piximperfect (YouTube Channel)
> Phlearn (YouTube Channel)
> Photoshop Training C. (YouTube Channel)
> 30 Days of Photoshop (Website)
ACTIVITY FILES:
> Photoshop Mini-Grid #1 (.psd)
> Pixel Resolution: Pizza (Print)
> Pixel Resolution: Apple (Print)
> Pixel Resolution: Pumpkin (Print)
> Real or Photoshop (Website)
> Pen Tool Practice (Illustrator File)
> Give-It-Hierarchy (Text File)
SOFTWARE:
> Adobe Express (Free, Online Raster)
> Canva.com (Free, Online Raster)
> Photopea.com (Free, Online Raster)
> GIMP (Free, Raster)
> Inkscape (Free, Vector)
> Vectr (Free, Vector)
ASSETS:
> Slidesgo.com (Free Ppwt. Templates)
> Dafont.com (Free Fonts)
> Google Fonts (Free Fonts)
> Unsplash.com (Free, Stock Images)
> Pexels.com (Free, Stock Images/Video)
> FreePik.com (Free Graphics)
> Blush.com (Free, Customizable Graphics)
> AI Generated Artwork (Free)


