COM2035 – Raster Graphics 1
Raster Graphics 1 is a continuation of concepts and skills acquired in Graphics Tools. Graphic Tools is a prerequisite for this module. In this module, we will learn more Photoshop techniques, tricks, and best practices for creating raster graphics and preparing them for print.
Assessment breakdown:
#1. Theory = 20%
#2. Practice = 40%
#3. Final Project = 40%
REMINDER: Unless indicated otherwise, all assignments are to be turned in through the assignments tab in Microsoft Teams.
Theory
IN THIS SECTION WE WILL LEARN IMPORTANT CONCEPTS NEEDED TO DO THE PRACTICE. PLEASE ENSURE YOU HAVE REVIEWED THE MATERIALS BELOW BEFORE TAKING THE QUIZ ASSIGNED THROUGH TEAMS.
What should you already know about Photoshop?
In the Graphic Tools module, we learned the following:
The relationship between pixels and resolution
Key differences between raster and vector graphics
Vector tools such as the pen tool
Photoshop tools such as layer masks and smart objects
Best practices to setting up your graphics projects
It is important that you have a good understanding of each bullet listed above. Consider reviewing the Multimedia 10 - Graphics Tools presentation files. Some of the bullets will be readdressed in the following Presentation 1.
In YouTube, check the video’s description to see timestamps. Click on the parts of the video that you need a review.
Practice
IN THIS SECTION YOU WILL APPLY WHAT YOU LEARNED IN THE THEORY SECTION. THE AIM OF PRACTICING IS TO EQUIP YOU WITH THE KNOWLEDGE AND SKILLS NEEDED TO CHOOSE AND CREATE YOUR OWN FINAL PROJECT. CLICK ON THE BUTTON BELOW TO DOWNLOAD A PRACTICE PORTFOLIO TEMPLATE (MOVE IT TO YOUR STUDENT FOLDER) AND CAREFULLY REVIEW THE INSTRUCTIONS.
> How to do Practice Portfolio in Multimedia (00:00)
> Student Example
Include the following challenges, plus pictures of any other in-class activities you completed (earn bonus marks), inside your practice portfolio:
This is an example of a photograph that has been restored.
#1 – Photo Touch Ups
In your practice portfolio, display before and after images for at least ONE of the downloadable images listed below. Use clone tool, spot healing brush, and adjustment layers to retouch and restore your image.
> Basic Photo Restoration: How to Restore Old Photos Using Photoshop (Website)
Click here to download photo touch up image #1
Click here to download photo touch up image#2
Click here to download photo touch up image #3
Can you spot the differences between the original image (left) and the one with subtle changes (right)?
#2 – Can You Spot the Differences?
In your practice portfolio, display before and after images for your Can You Spot the Differences challenge and highlight the 5 changes!
For this challenge you will take an original image and subtly manipulate it in at least 5 different ways. For example, you could change the colour of an element, add an element, remove an element, duplicate an element, alter an element, etc. The goal is to make it challenging for the viewer to spot the five differences between the original and manipulated image. Make sure you pick an original image that has enough detail/elements to “hide” your differences.
Useful tutorials:
> How to replace colours in Photoshop (YouTube)
> How to make selections in Photoshop (YouTube)
Remember to use colour theory to help your button stand out.
#3 – Web Banner
One of these fake companies [choose one of interest] has hired you to design a web banner to promote one of their products or services. Set up your web banner to the following specifications: 970 × 250 pixels (W x H), 72 resolution, and RGB colour profile. Be creative, but please make sure to include the following in your web banner:
• A button displaying a call to action such as “Visit Site”
• Use layer effects to make a headline that POPS! Once satisfied, save the applied effects as a layer style!
• Add a Gradient or pattern
In your practice portfolio, include the following:
• Use layer comps to create x2 different iterations (adjust color/layout) of your banner. Export as .jpegs in RGB colour profile.
• Lastly, flatten your Photoshop file and export a .Png of your web banner in CMYK colour profile.
> 15 Banner Ad Design Tips (Article)
Final Project
IN THIS SECTION, YOU WILL HAVE THE CHANCE TO CHOOSE AND DESIGN A PROJECT THAT RELATES TO WHAT YOU HAVE LEARNED IN THIS CREDIT (SEE FINAL PROJECT DESCRIPTION BELOW). PLEASE DOWNLOAD THE INSTRUCTIONS AND FOLLOW THEM CAREFULLY. PLEASE SEE ME IF YOU ARE STRUGGLING TO COME UP WITH A PROJECT IDEA OR NEXT ADDITIONAL GUIDANCE.
Final Project Description: For this final project, you will create and/or manipulate original raster graphics to present to an audience.
> How to do Final Projects in Multimedia
> Final Project Ideas & Resources
> Student Example
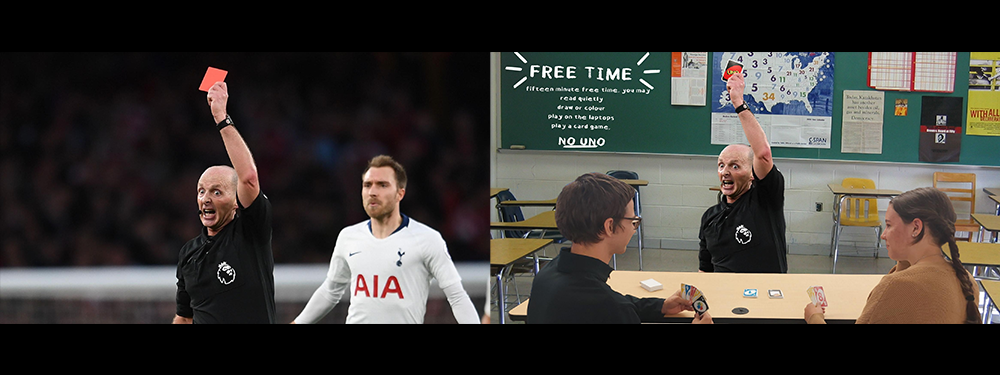
For your final project, consider creating a submission for this semester’s Photoshop Battle!
> Winners Of The Greatest Photoshop Battles Ever


RESOURCES:
> Slideshow Presentation Tips (PDF)
> PixImperfect Tutorials (YouTube)
> Phlearn Tutorials Tutorials (YouTube)
> Photoshop Training Channel (YouTube)
> Rules of Good Typography (PDF)
> Perfect Layout Design (YouTube)
> Grid Systems (PDF)
> Photoshop Roadmap (Website)
ACTIVITY FILES:
> Photoshop Mini-Challenges Grid (.Psd)
SOFTWARE:
> Adobe Express (Free, Online Raster)
> Canva.com (Free, Online Raster)
> Photopea.com (Free, Online Raster)
> GIMP (Free, Raster)
> Pixlr (Free, Raster)
> Inkscape (Free, Vector)
> Vectr (Free, Vector)
ASSETS:
> Slidesgo.com (Free Ppwt. Templates)
> Dafont.com (Free Fonts)
> Google Fonts (Free Fonts)
> Unsplash.com (Free, Stock Images)
> Pexels.com (Free, Stock Images/Video)
> FreePik.com (Free Graphics)
> Blush.com (Free, Customizable Graphics)


