COM2045 – Vector Graphics 1
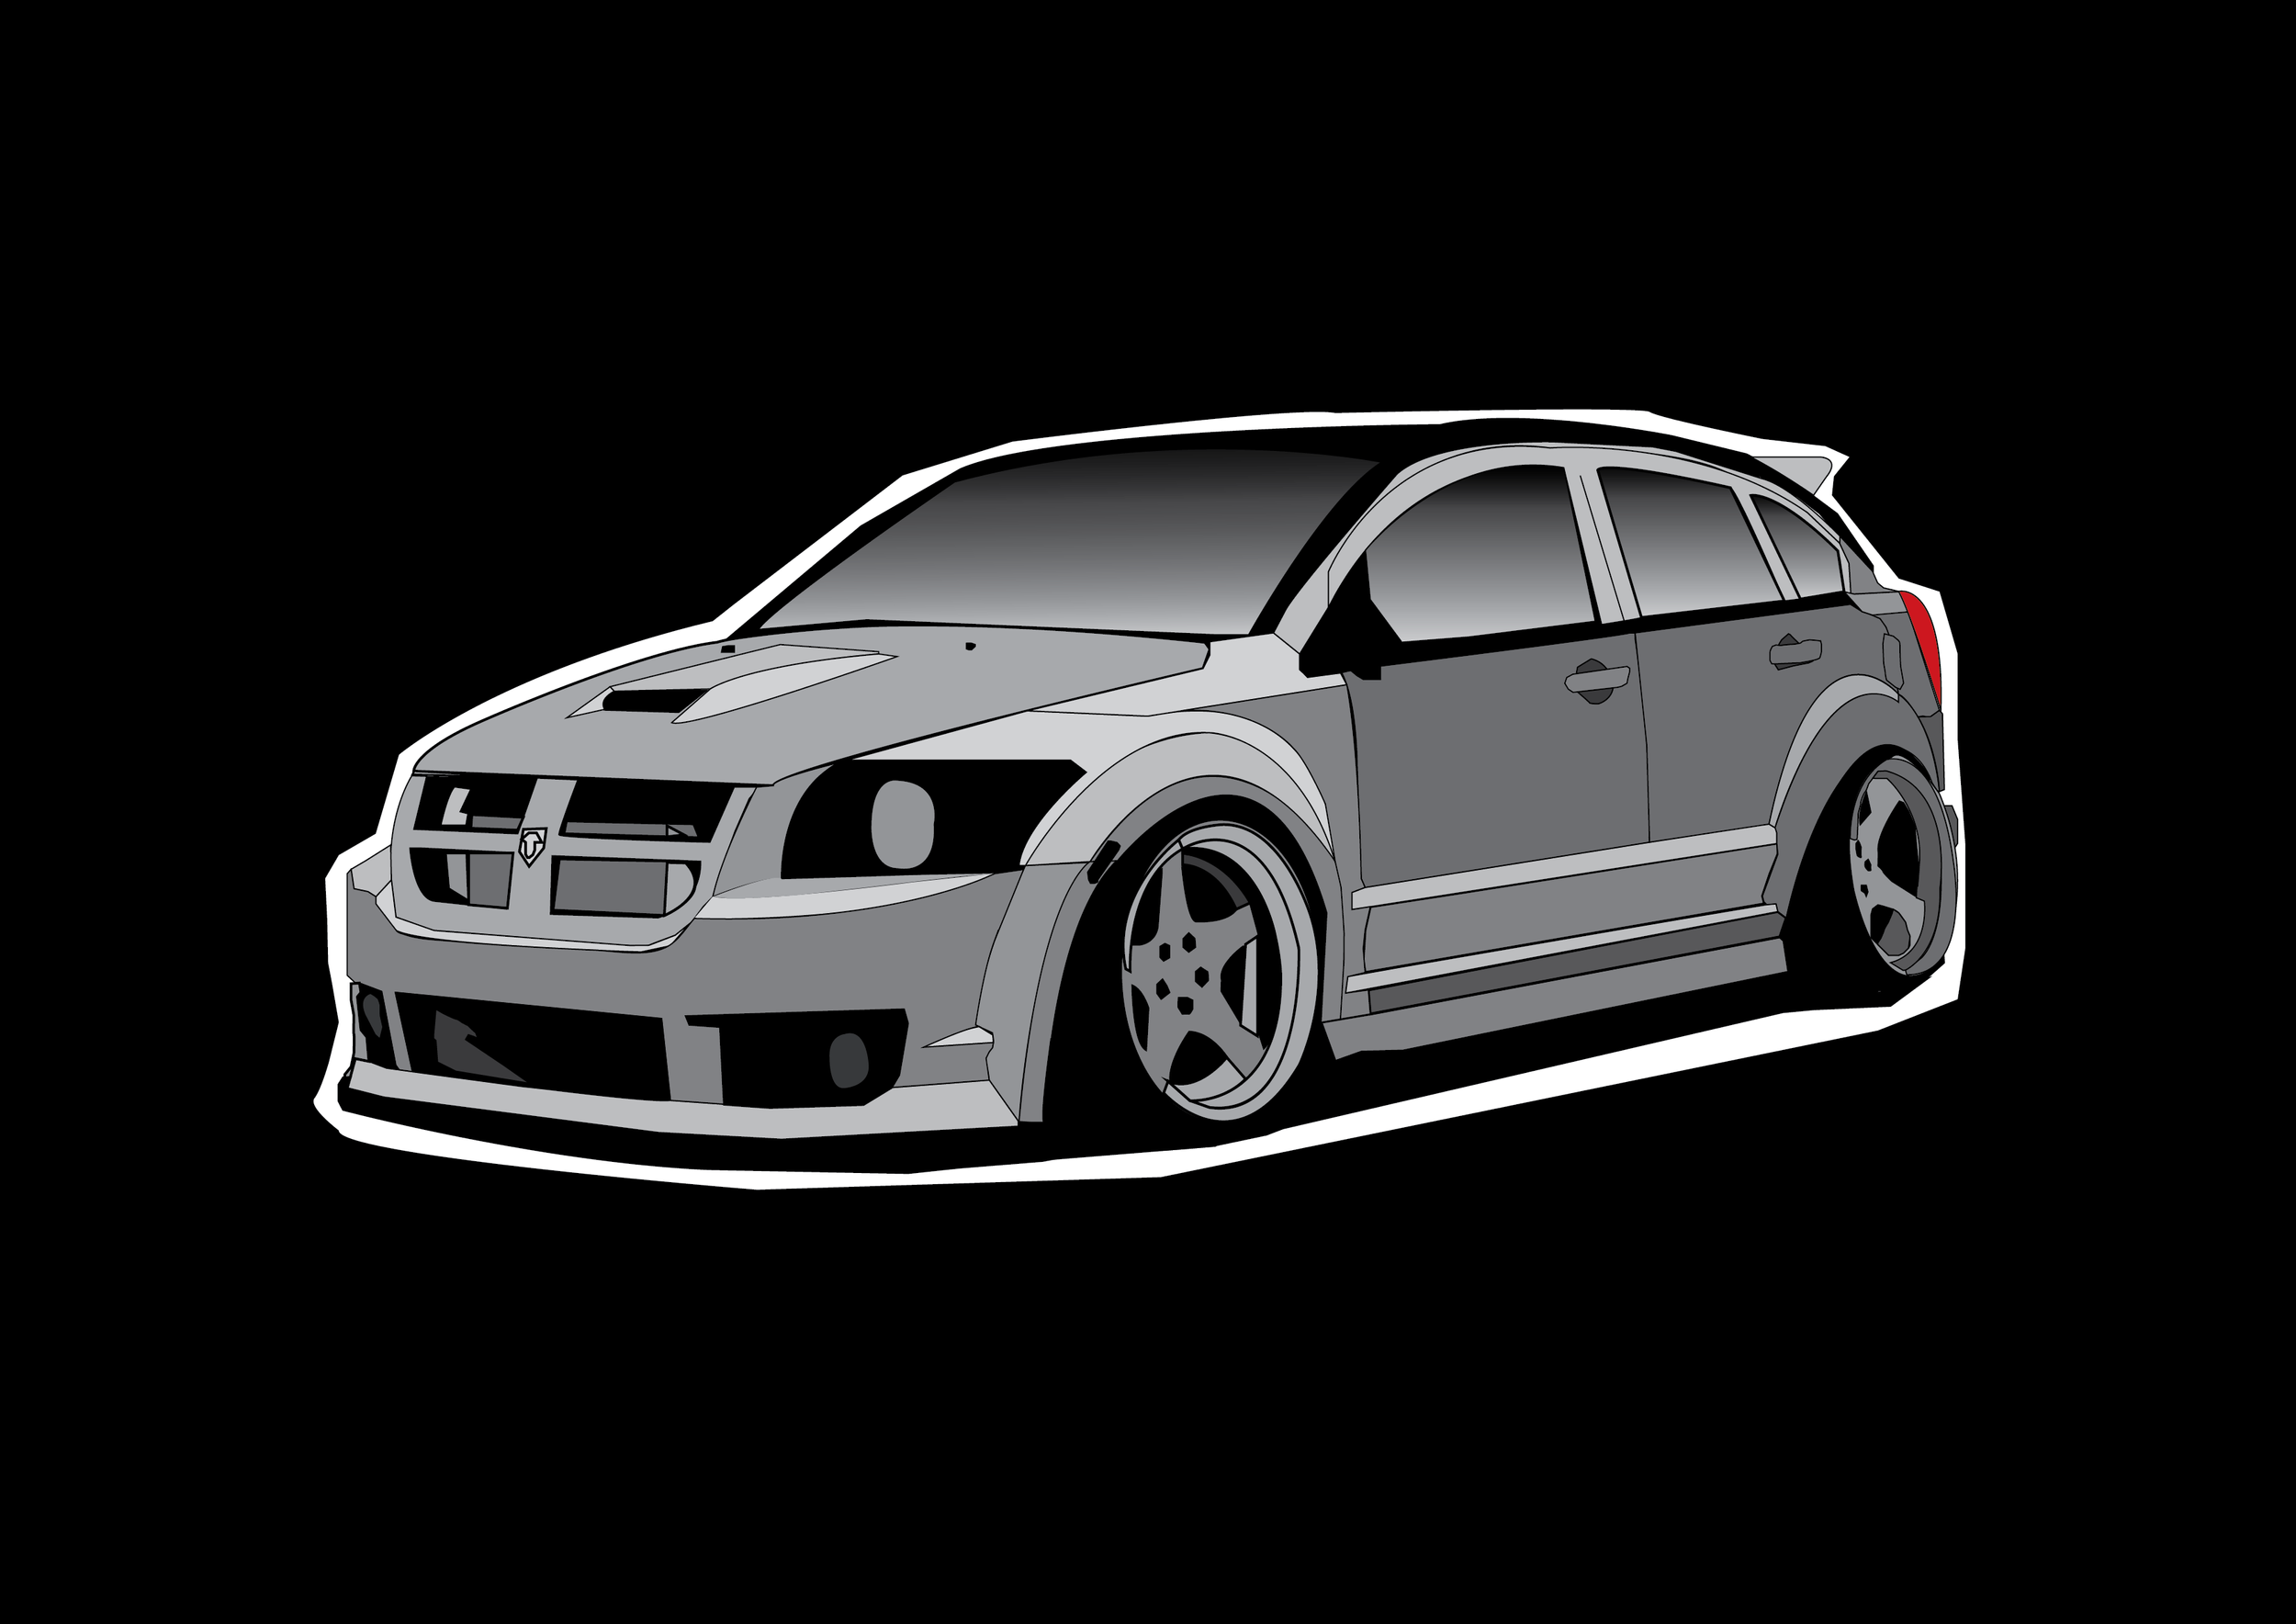
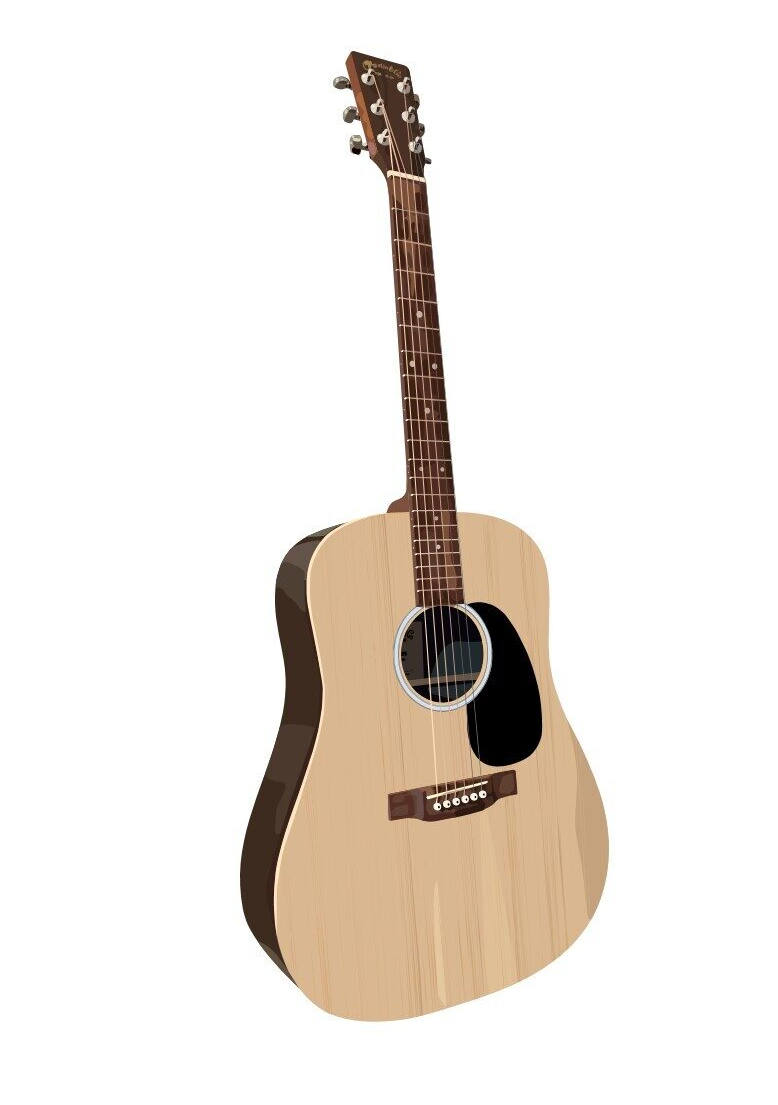
Vector Graphics 1 is a continuation of concepts and skills acquired in Graphics Tools (Graphic Tools is a prerequisite for this module). Vector graphics are commonly used in graphic design, page layout, typography, logos, sharp-edged artistic illustrations, technical illustrations, diagramming and flowcharting. In this course, students use vector editing software to create basic vector graphics.
Assessment breakdown:
#1. Theory = 20%
#2. Practice = 40%
#3. Final Project = 40%
REMINDER: Unless indicated otherwise, all assignments are to be turned in through the assignments tab in Microsoft Teams.
Theory
IN THIS SECTION WE WILL LEARN IMPORTANT CONCEPTS NEEDED TO DO THE PRACTICE. PLEASE ENSURE YOU HAVE REVIEWED THE MATERIALS BELOW BEFORE COMPLETING THE THEORY QUESTIONS ASSIGNED THROUGH TEAMS.
What should you already know about Illustrator?
In the Graphic Tools module, we learned the following:
The relationship between pixels and resolution
Key differences between raster and vector graphics
Vector tools such as the pen and curvature tool
Best practices to setting up your graphics projects
It is important that you have a good understanding of each bullet listed above. Consider reviewing the Multimedia 10 - Graphics Tools presentation files. Some of the bullets will be readdressed in the following Presentation 1.
In YouTube, check the video’s description to see timestamps. Click on the parts of the video that you need a review.
Practice
IN THIS SECTION YOU WILL APPLY WHAT YOU LEARNED IN THE THEORY SECTION. THE AIM OF PRACTICING IS TO EQUIP YOU WITH THE KNOWLEDGE AND SKILLS NEEDED TO CHOOSE AND CREATE YOUR OWN FINAL PROJECT. CLICK ON THE BUTTON BELOW TO DOWNLOAD A PRACTICE PORTFOLIO TEMPLATE (MOVE IT TO YOUR STUDENT FOLDER) AND CAREFULLY REVIEW THE INSTRUCTIONS.
> How to do Practice Portfolio in Multimedia (00:00)
> Student Examples
Include the following challenges, plus pictures of any other in-class activities you completed (earn bonus marks), inside your practice portfolio:
Responsive logos lower in complexity when viewed at smaller sizes.
#1 – Vector Stencil
For this challenge, you will convert a raster graphic into a vector stencil. In your portfolio, include a side-by-side of the original image and the vectorized version. Follow these steps to complete this challenge:
• Find a simple raster photograph with a range of lighting (shadows and highlights)
• Load image into Photoshop and then go Image > Mode > Grayscale, then again but this time choose Bitmap > 50% threshold)
• Export bitmap image as a .png and load it into Illustrator
• Use the Window > Image trace (try black and white logo preset) to create the stencil
#2 – Vector Mask
For this challenge, you will use masks to fill a container with an image(s). In this example, the name JOEL is used as the container to hold the overlaid basketball image. Follow these steps to complete this challenge:
• First, create your container (shape or text) and expand it by selecting the text/shape and pressing Object > Expand > OK.
• Copy/paste an image into Illustrator to fill your container.
• Use the free transform tool to resize and reposition the image to fit over your container. Right click image and press Arrange > Send to Back
• Select container and press Object > Compound Path > Make.
• Now drag and select both the container and image and press Object > Clipping Mask > Make
• Add backdrop, stroke or other effects (e.g. stroke, drop shadow, etc.)
#3 – Vector Emoji
For this challenge, you will use the following tools/effects to produce a basic emoji from scratch (no auto tracing):
• Shape Tool
• Pen/Curvature Tools
• Stroke Settings
• Lighting Effects (Gradient, Inner Glow, Gradient Mesh, etc.)
In your practice portfolio, include a .png of your finished emoji. Also turn in your Illustrator File (.ai) in Teams. Pay attention to how you name and organize your layers.
#4 – Illustrator Tutorials
> Adobe Colour Palette Library (This is a helpful resource to use for the following tutorials)
Blend Tool – Use this tutorial to make an abstract slideshow background. Format document 16” wide, 9” tall.
Patterns – Use this tutorial to make a patterned slideshow background. Format document 16” wide, 9” tall.
Graphs – Use this article to make a graph based off data you can collect in class (e.g., students by hair colour).
Final Project
IN THIS SECTION, YOU WILL HAVE THE CHANCE TO CHOOSE AND DESIGN A PROJECT THAT RELATES TO WHAT YOU HAVE LEARNED IN THIS CREDIT (SEE FINAL PROJECT DESCRIPTION BELOW). PLEASE DOWNLOAD THE INSTRUCTIONS AND FOLLOW THEM CAREFULLY. PLEASE SEE ME IF YOU ARE STRUGGLING TO COME UP WITH A PROJECT IDEA OR NEXT ADDITIONAL GUIDANCE.
Final Project Description: For this final project, you will create original vector graphics to present to an audience.
> How to do Final Projects in Multimedia
> Final Project Ideas & Resources
> Student Example (Final Project)


RESOURCES:
> Slideshow Presentation Tips (PDF)
> Rules of Good Typography (PDF)
> Perfect Layout Design (YouTube)
> Grid Systems (PDF)
ACTIVITY FILES:
> Adobe Illustrator Tutorials (Website)
SOFTWARE:
> Inkscape (Free, Vector)
> Vectr (Free, Vector)
> Photopea.com (Free, Online Raster)
ASSETS:
> Slidesgo.com (Free Ppwt. Templates)
> Dafont.com (Free Fonts)
> Google Fonts (Free Fonts)
> Unsplash.com (Free, Stock Images)
> Pexels.com (Free, Stock Images/Video)
> FreePik.com (Free Graphics)
> Blush.com (Free, Customizable Graphics)


