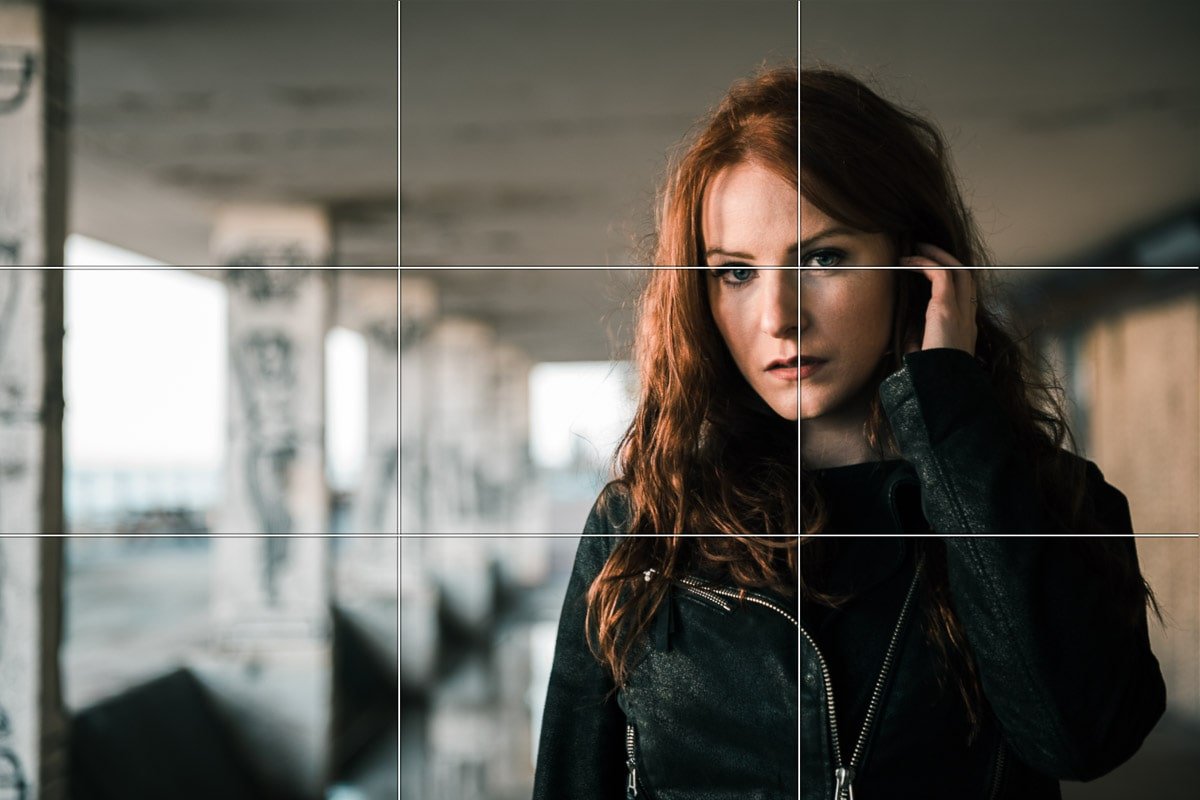
COM1205 – Photography Intro
Photography Introduction is the third credit in this class, and it is a prerequisite for most senior level photography modules. In Photography Introduction, you will have a chance to develop comfort and skill behind a camera lens, which will be of benefit in many other CTS modules such as film and animation. You will also learn the basics on how to take technically and compositionally sound photographs.
Assessment breakdown:
#1. Theory = 20%
#2. Practice = 40%
#3. Final Project = 40%
REMINDER: Unless indicated otherwise, all assignments are to be turned in through the assignments tab in Microsoft Teams.
Theory
IN THIS SECTION WE WILL LEARN IMPORTANT CONCEPTS NEEDED TO DO THE PRACTICE. PLEASE ENSURE YOU HAVE REVIEWED THE MATERIALS BELOW BEFORE TAKING THE QUIZ ASSIGNED THROUGH TEAMS.
What is the history of photography?
It’s hard to imagine a world before image capturing devices. One of the great benefits of photography is it has allowed us to visually document the seen world. Before this powerful invention, mankind had to rely on other traditional art forms such as painting and illustration to visually capture their world. In fact, photography was born out of humankind’s innate desire to preserve memories as realistically as possible. Let’s explore how it all began in Presentation 1.
How does a camera work?
All cameras essentially do the same thing; They direct external light through a lens and inside of the camera box where the light then shines upon a light sensitive material which records the visual stimuli the lens is pointed at. It is a complex, scientific process that you fortunately don’t need to know too much about in order to participate. Let’s learn how we can maximize our chances of taking a technically sound (focused, properly exposed) photograph in Presentation 2.
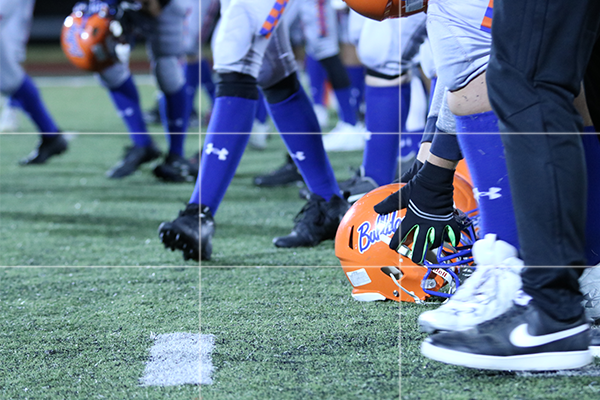
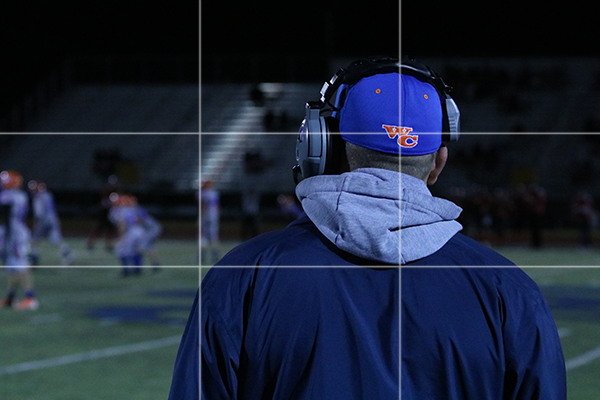
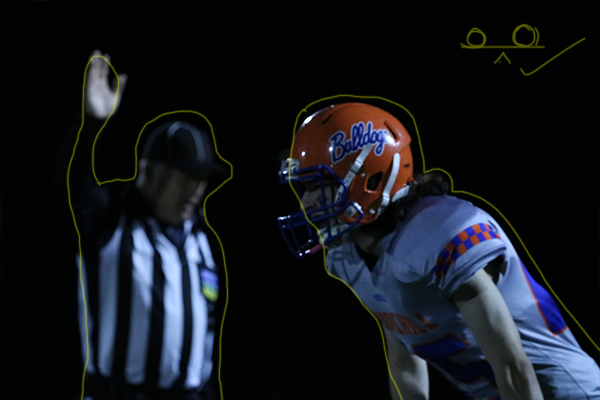
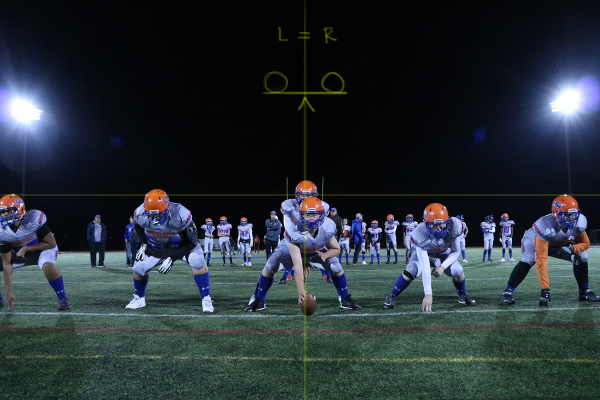
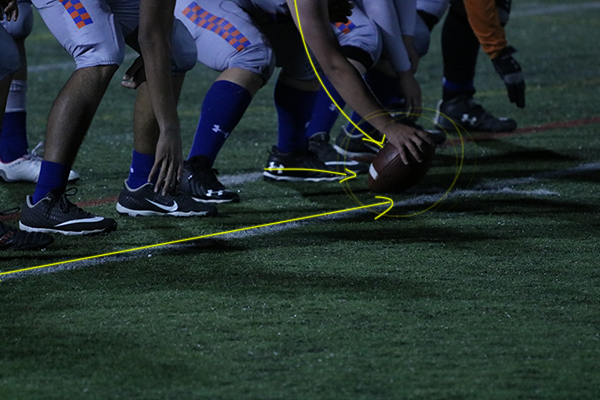
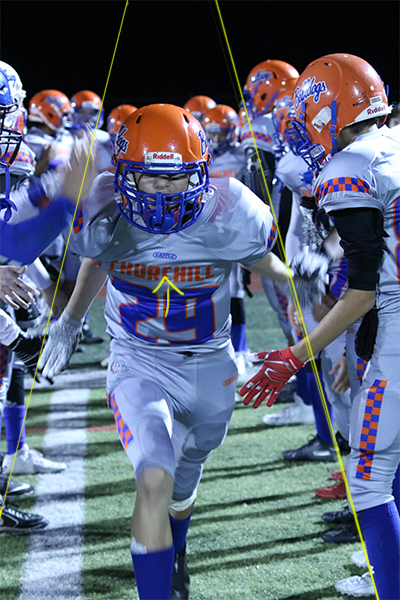
How can I take good photos?
Photoshop is the creative industry’s software of choice when it comes to working with raster graphics. For beginners, learning a new program can be overwhelming. Before we dive to deep into all the bells and whistles that Photoshop has to offer, let’s first make sure you are setting up your graphics projects on solid footing by reading Presentation 3.
My photos are good, but how can I make them great?
A lot of beginner photographers find quick success in applying the rules of composition; however, after a while you may notice your work lacks that extra polish needed to call it professional. This next section of presentations and assignments will equip you with more tools that you can use to take your photography to the next level. Let’s add to your skills in Presentation 4.
Practice
IN THIS SECTION YOU WILL APPLY WHAT YOU LEARNED IN THE THEORY SECTION. THE AIM OF PRACTICING IS TO EQUIP YOU WITH THE KNOWLEDGE AND SKILLS NEEDED TO CHOOSE AND CREATE YOUR OWN FINAL PROJECT. CLICK ON THE BUTTON BELOW TO DOWNLOAD A PRACTICE PORTFOLIO TEMPLATE (MOVE IT TO YOUR STUDENT FOLDER) AND CAREFULLY REVIEW THE INSTRUCTIONS.
> How to do Practice Portfolio in Multimedia (00:00)
> Student Example
Include the following challenges, plus pictures of any other in-class activities you completed (earn bonus marks), inside your practice portfolio:
#1 – Exposure Triangle:
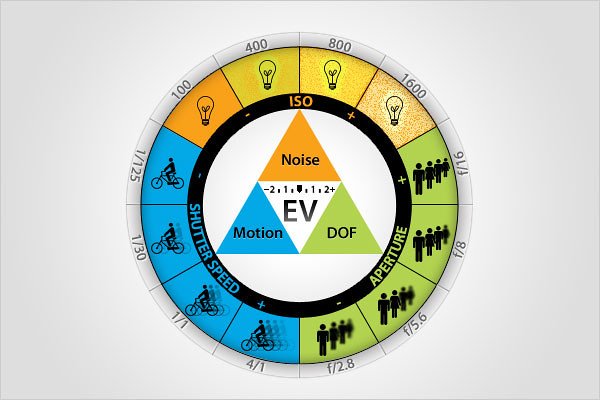
Use this camera simulator (or this camera simulator) to practice adjusting shutter speed, aperture, and ISO: Choose manual mode. In your practice portfolio, add the following:
Image that is properly exposed (lit), background in focus. The simulator will show a positive message like “looks good to me” if the lighting is appropriate.
Image that is properly exposed (lit), background NOT in focus. The simulator will show a positive message like “looks good to me” if the lighting is appropriate.
Add an answer to this question in your practice portfolio: As you adjust the sliders around, what do you notice about the relationship between aperture, shutter speed, and ISO?
#2 – Photo Journal:
On slides in your practice portfolio, add 10 of your best images that you took which demonstrate 10 of the options from the listed in the Journal Checklist.(Print and take with you). Please caption your images indicating which option each photo is demonstrating.
Still need more photos? Ask the teacher for our MINECRAFT classroom map and in creative mode equip yourself with a “Camera” to take pictures and “Portfolio” to export a .pdf of all your images. You can use the snipping tool to take pictures from the PDF and insert into your practice portfolio.
Taking pictures in nature? Download, print, and refer to our Nature Photography Tips Cheat Sheet.
Not sure how to transfer your images from the camera to the computer? Watch the following “How to Transfer Images From Camera to Computer” YouTube tutorial.
This video showcases different photos captured in the Minecraft map and how they demonstrate various rules of composition.
#3 – Double Exposure:
For this challenge you will be creating a double exposure portrait and place a before and after side-by-side inside your practice portfolio:
1) Have your portrait taken (even lighting).
2) Load portrait image into Photoshop.
3) Do the 1st tutorial to make a double exposure portrait.
4) Once you are finished, export a .jpeg copy.
5) Add original/edited image to a slide in your portfolio.
Final Project
IN THIS SECTION, YOU WILL HAVE THE CHANCE TO CHOOSE AND DESIGN A PROJECT THAT RELATES TO WHAT YOU HAVE LEARNED IN THIS CREDIT (SEE FINAL PROJECT DESCRIPTION BELOW). PLEASE DOWNLOAD THE INSTRUCTIONS AND FOLLOW THEM CAREFULLY. PLEASE SEE ME IF YOU ARE STRUGGLING TO COME UP WITH A PROJECT IDEA OR NEXT ADDITIONAL GUIDANCE.
Final Project Description: For this final project, you will photograph, print, and display at least six photos. These images should be interesting and generate curiosity and discussion.
> How to do Final Projects in Multimedia
> Final Project Ideas & Resources
> Student Example (Final Project)
RESOURCES:
> Slideshow Presentation Tips (PDF)
> Piximperfect (YouTube Channel)
> Phlearn (YouTube Channel)
> Photoshop Training C. (YouTube Channel)
> 30 Days of Photoshop (Website)
ACTIVITY FILES:
> Bonus Mark Activity #1
> Bonus Mark Activity #2
> Found Letters Scavenger Hunt (PDF)
> Light Painting (PDF)
> Photo Bingo (PDF)
SOFTWARE:
> Photopea.com (Free, Raster)
> GIMP (Free, Raster)
> Pixlr (Free, Photo)
ASSETS:
> Slidesgo.com (Free Ppwt. Templates)
> Dafont.com (Free Fonts)
> Google Fonts (Free Fonts)
> Unsplash.com (Free, Stock Images)
> Pexels.com (Free, Stock Images/Video)
> FreePik.com (Free Graphics)
> Blush.com (Free, Customizable Graphics)


